Uncategorized
A shaded parking space can feel like a win in Florida until you notice sticky amber spots baked onto the hood, roof, or windshield. The key is to remove tree sap safely before heat turns a small inconvenience into stubborn paint contamination. Rushing the job with a scraper, harsh solvent, or a dry towel can leave behind scratches, hazing, and damage that costs more to correct than the sap itself.
Fresh sap is usually manageable at home with the right process. Older deposits, especially on dark paint or ceramic-coated vehicles, deserve a slower and more controlled approach. The goal is not simply to make the spot disappear. It is to release the sap while preserving the clear coat, gloss, and protection underneath it.
Why Tree Sap Needs Prompt Attention
Tree sap is more than a sticky surface mark. It contains sugars, resins, and natural compounds that adhere tightly to automotive finishes. Under Port Orange and St. Augustine sun, that residue heats up, hardens, and can bond more aggressively to the clear coat.
If it sits long enough, sap may leave behind a dull outline or etched-looking spot even after the residue is removed. That does not always mean the paint is permanently damaged, but it may require polishing to restore clarity. The longer it remains, the greater the chance that removal becomes a paint-correction job rather than a basic cleaning task.
Sap also collects dust, pollen, sand, and road grime. Wiping it dry drags those abrasive particles across the finish. That is why a clean microfiber towel alone is not the answer, no matter how small the spot looks.
What to Use to Remove Tree Sap Safely
Start with products designed for automotive surfaces whenever possible. A dedicated bug and tar remover, automotive sap remover, or panel-safe solvent is generally the most controlled option. Isopropyl alcohol can help with light, fresh residue when properly diluted, but it should not be repeatedly applied to a hot panel.
You will also want a clean microfiber towel, a second towel for drying, automotive car shampoo, water, and a spray detailer or paint-safe lubricant. If the vehicle has a ceramic coating, paint protection film, vinyl wrap, or a fresh wax or sealant, check that the chosen product is compatible with that surface.
Avoid using razor blades, kitchen scrub pads, magic erasers, gasoline, brake cleaner, acetone, or undiluted household cleaners. Some may remove the sap quickly, but they can stain trim, strip protection, soften certain films, or mar clear coat. Fast removal is not a good result if the finish needs correction afterward.
How to Remove Tree Sap Safely, Step by Step
Work on a cool, clean panel
Move the vehicle into shade or wait until the paint is cool to the touch. Heat causes products to evaporate too quickly and makes sap harder to soften. If possible, wash the affected area first to remove loose grit that could scratch the paint during the removal process.
There is no need to wash the entire vehicle before addressing one fresh spot, but the area around it should be clean. Rinse it, use a proper car shampoo, and dry gently with a clean microfiber towel.
Soften the sap before touching it
Spray your chosen automotive sap remover onto a microfiber towel rather than flooding the panel. Hold the damp towel against the sap for 30 to 60 seconds. This dwell time matters. It gives the product a chance to soften the resin so you do not have to force it off.
For a larger deposit, repeat the process in short applications instead of letting a strong chemical sit for several minutes. Controlled exposure is safer for paint, trim, and protective coatings.
Lift, do not scrape
Once softened, use light pressure to blot and gently roll the residue away. Do not scrub in tight circles. Work from the outer edge toward the center, folding to a clean section of microfiber as sap transfers to the towel.
If the spot resists, apply more product and give it another short dwell period. Two or three gentle passes are far safer than one aggressive pass. A plastic razor blade can sometimes be used by trained professionals on appropriate glass surfaces, but it should not be your first choice for painted panels.
Clean away product residue
After the sap is gone, wash the area with automotive shampoo or wipe it with a clean, damp microfiber towel. Then dry it and inspect the paint from multiple angles. Residual solvent, leftover sap, or softened road film can make it difficult to tell whether the finish is truly clean.
If the surface now feels smooth and looks even, apply a spray sealant, wax, or other compatible protection to the affected area. Solvent-based sap removers may weaken the protection in that small section even when they do not harm the paint itself.
What If the Sap Is Old, Hardened, or Etched?
Old sap often looks like a raised brown or amber dot, but it can also leave a flat stain that appears after the visible residue is gone. Start with the same gentle process. Do not assume harder sap requires harsher chemicals.
If the deposit will not release after several controlled attempts, stop before you create towel marks or clear-coat marring. The remaining material may need professional-grade decontamination and machine polishing. This is especially true if the spot is on black paint, a piano-black trim piece, matte paint, or a panel with visible swirl marks already.
An etched outline may require a light polish to level minor surface damage and restore gloss. Polishing removes a microscopic amount of clear coat, so it should be performed only when needed and with a measured approach. On a premium vehicle, that restraint protects the long-term condition of the finish.
Special Care for Ceramic Coatings, PPF, and Glass
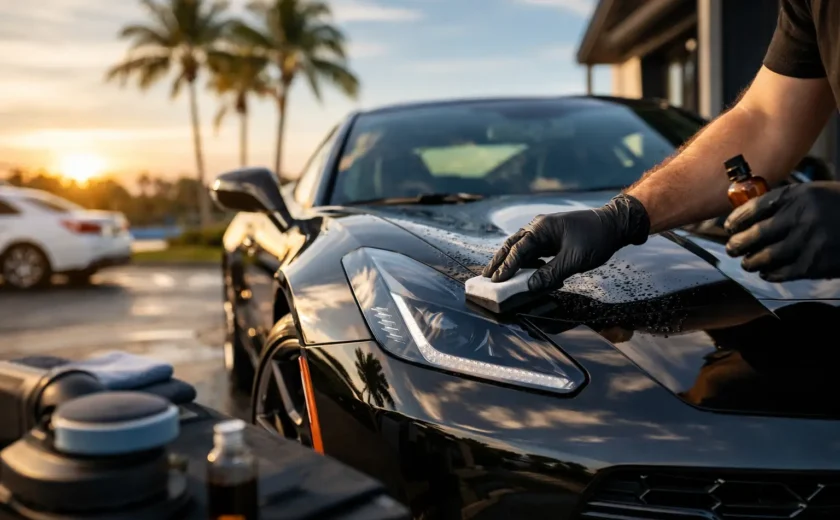
Ceramic-coated vehicles are easier to clean, but coatings are not immune to tree sap. The coating acts as a sacrificial barrier, helping prevent contamination from bonding directly to the paint. Still, aggressive chemicals or excessive rubbing can reduce its hydrophobic performance in the affected area.
Use a coating-safe sap remover, avoid abrasive pads, and refresh the coating’s maintenance product after cleaning if needed. If water no longer beads or sheets consistently near the treated spot, the area may benefit from a professional inspection or topper application.
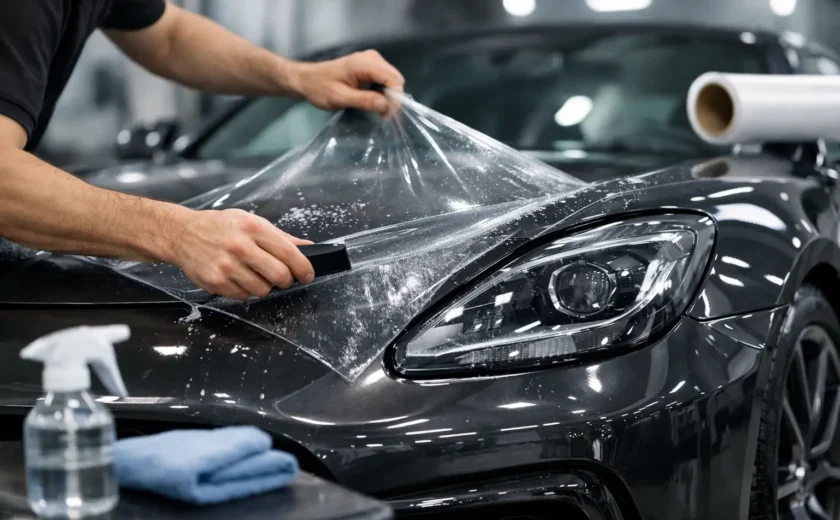
Paint protection film provides another layer of defense, but the film’s surface should be treated carefully. Do not use harsh petroleum-based products unless they are approved for PPF, and avoid picking at the edge of the film with a fingernail or tool. Sap can collect near seams and edges, where overzealous cleaning creates more risk than the contamination itself.
On glass, sap can be removed with a glass-safe cleaner and a dedicated automotive sap product. Keep solvent away from rubber seals and painted trim. If the windshield is heavily contaminated, clean it thoroughly before using the wipers. Dragging sap across dry glass can smear visibility and wear the wiper blades prematurely.
When Professional Removal Is the Better Choice
DIY removal works well for fresh, isolated spots. Professional service is the better call when sap covers multiple panels, has baked on for weeks, has etched the clear coat, or sits on a vehicle with specialty protection. It is also worth considering when the vehicle has delicate finishes, fresh paintwork, matte paint, aged trim, or a high-value appearance standard.
At Diamond Detailing, the process begins with a careful evaluation of the contamination and the finish beneath it. The correct combination of decontamination, polishing, and protection can restore a clean surface without taking unnecessary risks with the paint. For vehicles exposed to regular tree cover, routine maintenance and durable protection make future cleanup faster and far less stressful.
The best habit is simple: inspect your vehicle after parking under trees and address sap while it is still fresh. A few careful minutes in the shade can preserve the deep gloss and refined finish you expect every time you walk back to your vehicle.