Uncategorized
A fresh paint job on a nearby building, a road-line project, or even a careless DIY spray can leave your vehicle covered in tiny dots that feel rough to the touch. Knowing how to remove overspray safely matters because the wrong shortcut can turn a removable surface contaminant into scratched clear coat, hazy trim, or permanent staining.
Overspray is not always obvious from a distance. On lighter-colored vehicles, it may show up as dullness or a gritty texture rather than visible specks. On dark paint, glass, chrome, and glossy black trim, the dots are often easier to see in direct sunlight. The key is to identify what is on the surface before reaching for a harsh chemical or abrasive pad.
What Overspray Does to Your Vehicle
Overspray is airborne paint, stain, clear coat, industrial coating, or similar material that lands on a vehicle outside its intended target area. It may settle on painted panels, windows, wheels, rubber seals, plastic trim, and even inside door jambs. The longer it remains, the more difficult removal can become, especially when the contamination has baked into the surface under Florida sun.
Most automotive paint has a protective clear coat over the color layer. That clear coat can often be corrected, but it is not unlimited. Aggressive solvents, dry wiping, rough clay use, or scraping can create fine scratches and marring. These defects may be more noticeable than the overspray itself once the car is clean.
There is also a protection concern. Ceramic coatings, paint protection film, and wax or sealant layers can change how overspray bonds and how it should be removed. A vehicle with PPF, for example, needs a more conservative approach than an unprotected work truck with single-stage paint. The right process depends on the material, the affected surface, and the condition of the vehicle.
How to Remove Overspray Safely
Start with a proper wash. Rinsing loose dust and road grime away first prevents those particles from being dragged across the paint during the removal process. Use a pH-balanced automotive shampoo, clean wash media, and plenty of lubrication. Do not try to rub dry overspray off with a towel, microfiber cloth, or your hand.
After washing, inspect the vehicle while it is clean and dry. Run clean fingertips lightly over the paint inside a thin plastic bag. This simple test makes bonded contamination easier to feel. If the finish feels rough but the spots do not appear deeply embedded, a detailing clay bar or synthetic clay mitt may be an appropriate next step.
Use Clay With Enough Lubrication
Automotive clay is designed to shear off bonded surface contamination. It can be effective on fine paint mist and overspray when used with a dedicated clay lubricant and minimal pressure. Work in small sections, keeping the panel wet and allowing the clay to glide rather than scrub.
Check the clay often. If it picks up visible debris, fold it to expose a clean surface. If the clay is dropped on the ground, discard it. A dropped clay bar can collect grit that may scratch paint immediately.
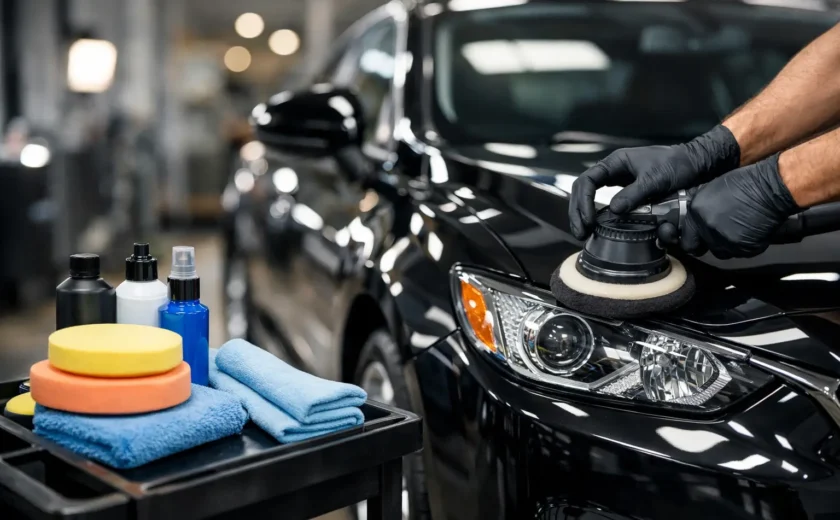
Clay is useful, but it is not harmless. Even with careful technique, it can leave light marring on soft clear coat. For that reason, a professional-grade overspray removal service often includes a refinement polish afterward. The polish restores clarity and gloss, removing the faint haze or micro-marring that may remain after decontamination.
Treat Glass, Trim, and Wheels as Different Surfaces
Do not assume one method is safe everywhere. Glass can tolerate specialized glass-safe decontamination methods, but rubber seals, unpainted plastic, matte trim, polished metal, and aftermarket wheels each require different care. Some solvents can discolor trim. Some wheel finishes can stain or lose their protective coating. Matte paint and satin vinyl are especially unforgiving because they cannot be polished in the same way as gloss paint.
If overspray is on windshield wipers, textured plastic, emblems, or rubber weatherstripping, removal may be more time-consuming than removal from a flat painted panel. These areas have edges and pores where contamination can lodge. Patience and the correct product matter more than force.
When Solvents Are Necessary
Certain heavy or cured overspray situations call for a solvent-based remover. This is where many DIY attempts go wrong. Products such as lacquer thinner, acetone, or strong paint reducers may dissolve or soften unwanted paint, but they can also damage clear coat, strip protection, stain plastic, weaken adhesives, and affect paint protection film.
A safe approach begins with the least aggressive option. Test any product on a small, inconspicuous area, use it sparingly, and avoid allowing it to dwell on the surface. The panel should then be rinsed or washed promptly. If there is any uncertainty about the coating type, the age of the overspray, or the vehicle’s existing protection, stop before escalating to a stronger chemical.
Fresh overspray may release relatively easily. Old industrial paint, road striping material, or construction coatings may require controlled chemical removal followed by clay treatment and machine polishing. Trying to solve a severe contamination issue with household products can increase the final repair cost.
Avoid These Common Overspray Removal Mistakes
The most expensive mistakes usually come from trying to make the process faster. Avoid razor blades on paint, abrasive kitchen sponges, magic erasers, sandpaper, steel wool, and dry towels. These methods can leave scratches that require significant correction, and some may cut through the clear coat entirely.
Pressure washing alone is not a reliable overspray removal method either. It may remove loose particles, but it will not safely lift material that has bonded to the paint. Holding a pressure washer nozzle too close can also damage weakened trim, decals, paint edges, and film.
Another common mistake is polishing before removing the contamination. A polishing pad can catch or spread the particles across the panel, creating unnecessary marring. Decontaminate first, inspect the finish, and then decide whether polishing is needed to restore the surface.
When Professional Overspray Removal Is Worth It
Professional correction is the smart choice when overspray covers multiple panels, has been sitting for weeks or months, affects trim and glass, or is present on a newer vehicle with ceramic coating or paint protection film. It is also worthwhile when the vehicle is a lease return, a luxury model, a collector car, or an asset you want to preserve for resale.
At Diamond Detailing, overspray removal is approached as a surface-correction process, not a quick wipe-down. The vehicle is evaluated to determine the contamination type, the condition of the clear coat, and the protection already on the surface. That allows the process to be tailored around safe decontamination, paint refinement where needed, and renewed protection after the finish is restored.
Machine polishing is often the difference between paint that is merely free of overspray and paint that looks properly finished. It can remove clay marring, improve gloss, reduce light defects, and bring depth back to the color. However, not every vehicle needs aggressive correction. A careful inspection should determine the least invasive path to a clean, even result.
Protect the Finish After Overspray Is Removed
Once overspray is removed, the paint should not be left bare. Decontamination and polishing can reduce or remove existing wax, sealant, and ceramic coating performance. Reapplying appropriate protection helps improve water behavior, makes future contamination easier to remove, and restores the finish’s polished appearance.
For daily-driven vehicles, a quality sealant or ceramic protection service can make routine maintenance more manageable. For vehicles exposed to construction zones, frequent highway driving, coastal air, or outdoor parking, stronger long-term protection may be worth the investment. Protection will not make a vehicle immune to overspray, but it can reduce bonding and give a detailer a safer starting point if contamination happens again.
If your paint feels rough after a nearby project or suddenly looks dull in the sun, resist the urge to scrub it clean. A measured inspection and the right removal method can preserve the finish you paid for and keep the vehicle looking like it belongs in your driveway, not the body shop.