Uncategorized
A vehicle can look clean from ten feet away while still carrying embedded brake dust, bonded paint contamination, oily interior residue, and sun damage that slowly lowers its appearance and value. This complete car detailing checklist guide breaks the process into the right order, so every step supports a cleaner, sharper, better-protected finish instead of simply covering up the problem.
For Florida drivers, the order matters. Heat, UV exposure, salt air, rain, bugs, tree debris, and daily road grime can wear on paint, trim, leather, and carpets faster than many owners expect. A proper detail is not just about making a vehicle look good for the weekend. It is about cleaning safely, correcting what can be improved, and protecting the surfaces that take the most abuse.
A Complete Car Detailing Checklist Guide Starts With Inspection
Before a wash mitt touches the paint, inspect the vehicle under direct and indirect light. Walk around it slowly and note bug residue, tar, water spots, swirls, scratches, dull trim, stained upholstery, pet hair, odor, and damaged protective coatings. Check the wheels, door jambs, lower rocker panels, and rear hatch area closely. These areas often hold the heaviest buildup.
Inspection determines the right level of service. A well-maintained daily driver may need a careful maintenance detail and renewed protection. A vehicle with neglected paint, deep staining, or years of automatic-car-wash swirls may need decontamination, polishing, interior extraction, or more involved restoration. Not every imperfection should be chased aggressively. Paint correction removes a small amount of clear coat, so the goal is meaningful improvement while preserving the finish for the long term.
Documenting existing chips, deep scratches, loose trim, and interior damage also helps set realistic expectations. Detailing can dramatically improve condition, but it cannot repair torn leather, missing clear coat, or scratches that have penetrated through the paint without separate repair work.
Exterior Detailing: Clean First, Then Refine
Exterior work should move from the dirtiest areas toward the most delicate painted surfaces. Rushing straight into a hand wash can drag abrasive contamination across the paint and create more marring.
A thorough exterior checklist includes:
- Clean wheels, tires, wheel wells, and brake calipers using dedicated tools and appropriate chemistry.
- Pre-rinse the vehicle to remove loose dirt, sand, pollen, and road film.
- Treat bugs, tar, sap, and heavy grime before the contact wash.
- Foam or pre-soak the paint when needed to loosen contamination safely.
- Hand wash with clean microfiber wash media and a careful rinse routine.
- Clean door jambs, fuel doors, badges, grille openings, glass, mirrors, and exhaust tips.
- Dry with quality microfiber towels or filtered air to reduce water spotting and towel-induced marring.
Decontaminate the Paint
A freshly washed vehicle can still feel rough to the touch. That roughness is often bonded contamination: industrial fallout, rail dust, brake dust, overspray, tree residue, or mineral deposits. Chemical iron removers and tar removers address specific contaminants; a clay treatment or synthetic clay media can remove remaining surface particles.
This step is especially valuable before polishing or applying a ceramic coating. Protection adheres best to a clean, properly prepared surface. It also makes the paint feel noticeably smoother and helps restore clearer reflections.
Use caution, though. Clay media can create light marring on softer paint, particularly when used improperly or without enough lubricant. On a vehicle that needs a refined finish, decontamination should be followed by at least a light polish.
Correct the Finish When It Makes Sense
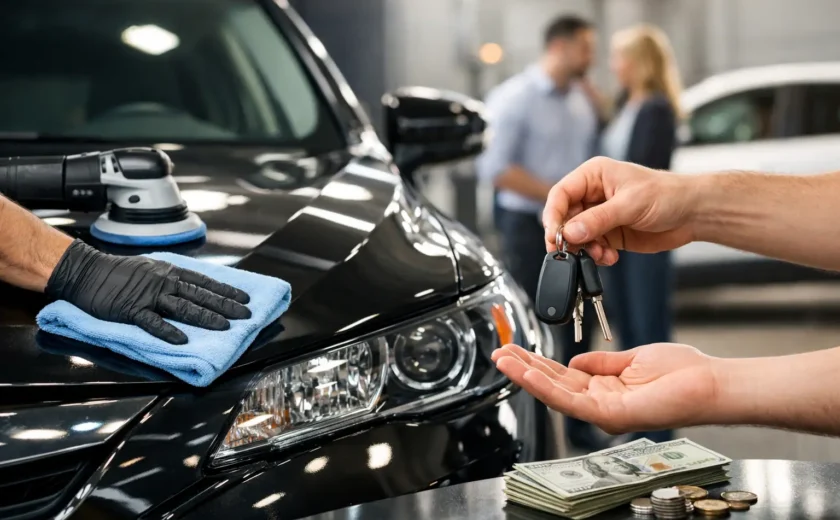
Paint correction is where a detail shifts from basic cleaning to visible transformation. A test spot helps determine how the paint responds to a polishing combination before the full vehicle is addressed. Depending on the paint condition and the owner’s goals, this may involve a one-step enhancement polish or a more extensive multi-stage correction.
A one-step polish often improves gloss and reduces lighter swirls while keeping the service efficient. More involved correction can deliver a sharper, near-showroom result, but it requires more time and is not always necessary for a commuter vehicle. Deep scratches, rock chips, and defects beneath the clear coat may remain visible even after polishing.
After correction, wipe down the paint to remove polishing oils and inspect the finish again. This is the point where strong lighting reveals whether the work has actually improved clarity, not just temporarily filled defects.
Interior Detailing: Restore the Cabin Without Overwetting It
An interior should feel clean, dry, and natural when the detail is complete. Heavy fragrance, greasy dashboard shine, and soaked carpet are not premium results. The objective is to remove debris and residue, address stains and odors appropriately, and leave every surface with the correct finish.
Start by removing loose items and vacuuming thoroughly. Slide seats when possible, vacuum seams and crevices, lift floor mats, and use compressed air or soft brushes around controls, vents, and stitching. This dry work makes the wet-cleaning stages more effective.
Next, clean hard surfaces such as the dash, center console, cup holders, door panels, steering wheel, and pedals with products suited to the material. High-touch points deserve special attention because body oils, sunscreen, makeup, and food residue build up quickly. Screens and piano-black trim need a gentle approach to prevent scratching or haze.
Treat Upholstery, Leather, and Carpet by Material
Fabric seats and carpet may need spot treatment, agitation, steam, or extraction depending on the stain and soil level. More water is not always better. Over-saturating padding can create lingering odors and slow drying, particularly in humid Florida conditions. A controlled cleaning process and complete drying time are essential.
Leather should be cleaned with a suitable leather-safe product, then conditioned or protected when the material calls for it. Modern automotive leather is often coated, so the goal is generally to clean the protective surface and restore a low-sheen appearance, not to leave it slick or oily.
For odor concerns, identify the source first. Smoke, mildew, pet accidents, spilled drinks, and moisture trapped under mats each require a different treatment. An air freshener may mask an odor briefly, but it will not solve contamination in carpet, upholstery, or the HVAC system.
Protect the Surfaces That Matter Most
Protection is what turns a detail into a maintenance strategy. Freshly cleaned paint, plastic, leather, glass, and tires are exposed again the moment the vehicle returns to the road. The right product depends on the vehicle’s use, parking conditions, budget, and desired finish.
A quality paint sealant provides strong gloss and practical durability for many daily drivers. Ceramic coatings offer longer-term chemical resistance, easier maintenance, and enhanced water behavior when the paint has been properly prepared. They are not scratch-proof, and they do not eliminate the need for washing, but they can make regular care far easier and help preserve a refined finish.
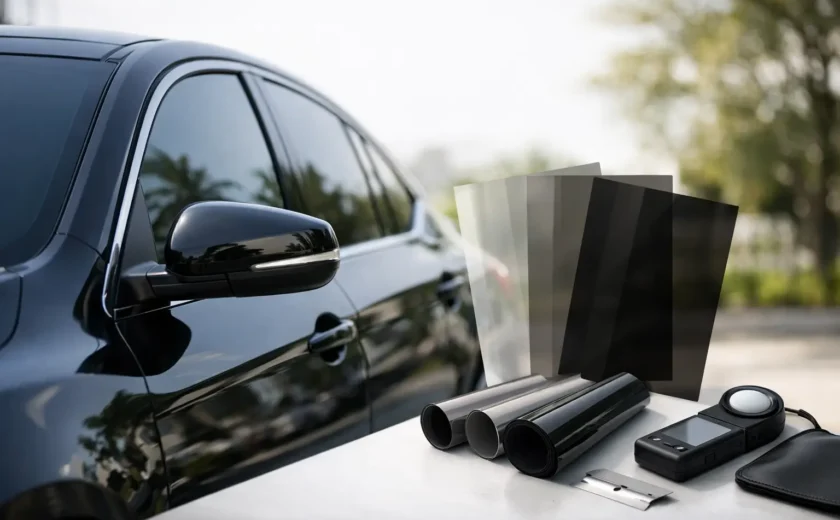
Protect exterior trim with a non-greasy dressing that resists UV fading. Apply tire dressing evenly for a clean satin or controlled gloss, not a sling-prone wet look. Treat exterior glass for better visibility during heavy rain, and keep windshield wipers in good condition. For vehicles exposed to highway debris, paint protection film is worth considering on high-impact areas such as the front bumper, hood, mirrors, and rocker panels.
Build a Maintenance Schedule Around How You Drive
A garage-kept weekend vehicle and a daily-driven SUV parked outside in Port Orange do not need the same schedule. As a general standard, wash the vehicle every two to four weeks, clean spills and bug residue promptly, and vacuum the interior before debris becomes embedded. High-mileage vehicles, beach commuters, and vehicles parked under trees may need attention more often.
A professional maintenance detail every few months can keep the finish under control, while annual or semiannual deep detailing helps reset the vehicle after seasons of heat, rain, road film, and family use. Ceramic-coated vehicles still benefit from professional inspections and correct wash methods so the coating performs as intended.
When Professional Detailing Is the Better Choice
DIY care is excellent for regular washing, vacuuming, and quick spill cleanup. Professional service is usually the smarter choice when paint needs correction, water spots have etched into the finish, stains have set into upholstery, odors persist, or a long-term coating is being considered. Those jobs depend on controlled tools, paint measurement, product knowledge, lighting, and the patience to avoid creating new damage.
Diamond Detailing approaches each vehicle based on its actual condition, not a one-size-fits-all checklist. The right service may be a precise maintenance refresh, a deeper interior restoration, paint enhancement, or a protection package built for Florida exposure.
The best time to address wear is before it becomes permanent. Keep a simple routine, inspect the vehicle in good light, and treat professional detailing as preservation for an asset you see and use every day.